PostgreSQL Install Introduction
Download PostgreSQL
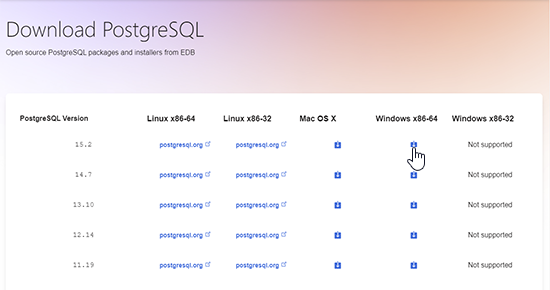
To install PostgreSQL locally on your computer, visit the official PostgreSQL site, and download the newest version compatible with your operating system.
I will choose the latest version of PostgreSQL for Windows:
Start the Installation
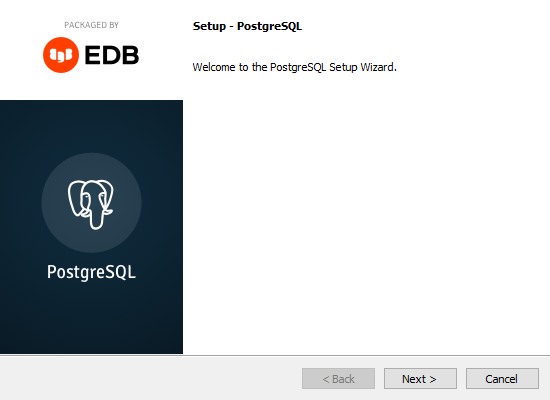
When the downloading is complete, double-clicks the downloaded file and starts the installation:
Specify Directory
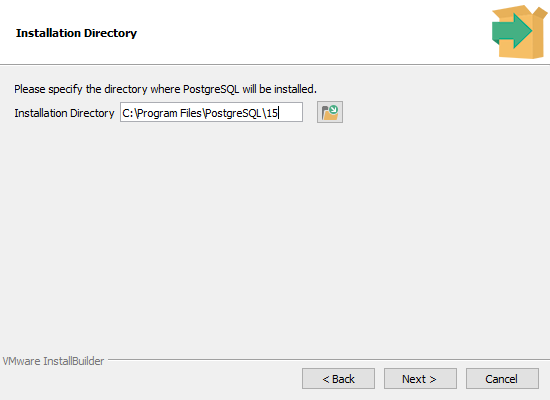
You can specify the location of PostgreSQL, I will go with the default choice:
Select Components
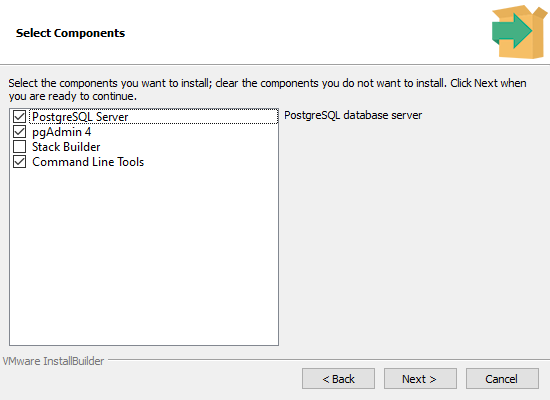
To use PostgreSQL, you will need to install the PostgreSQL Server. In this tutorial, we will also use the pgAdmin 4 component, and the Command Line Tools:
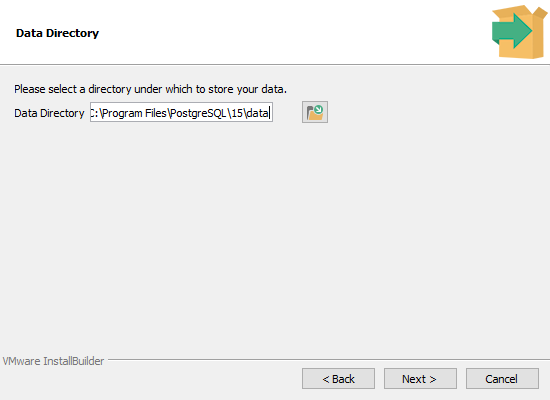
Storage Directory
You can also choose where to store the database data, I will go with the default choice:
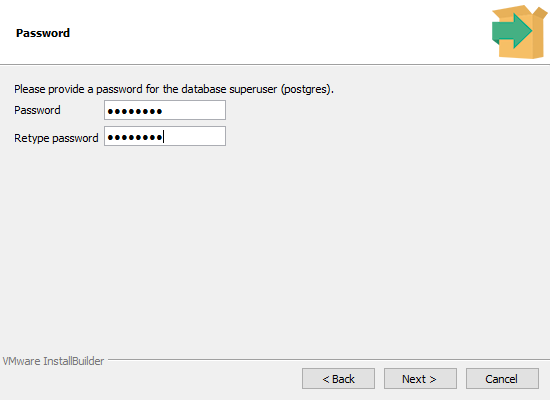
Select Password
You will have to select a password to get access to the database. Since this is a local database, with no incoming connection, I will choose the password 12345678:
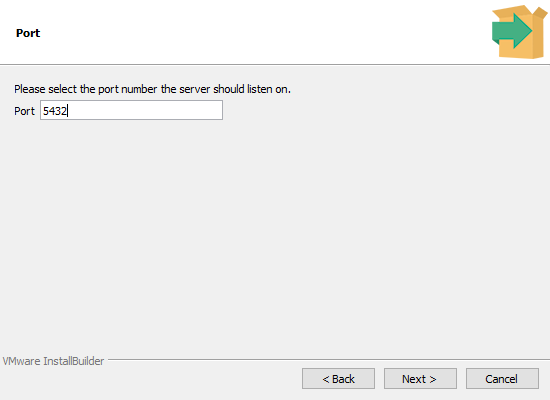
Select Port
You can set the port the server should listen on; I will go with the default choice:
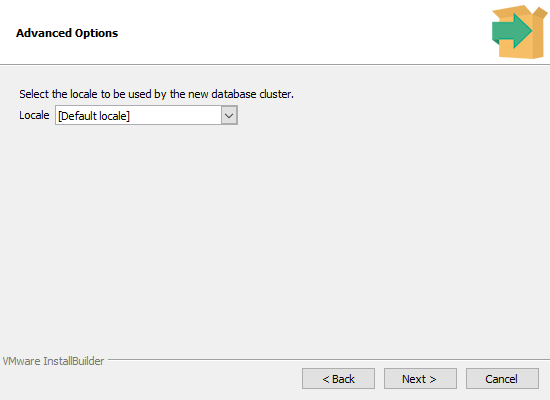
Select Locale
Select the geographic location of the database server:
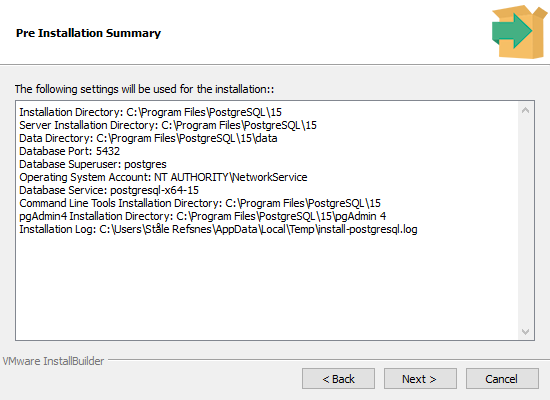
Final Check
If everything looks OK, click 'Next' to continue:
Start Installation:
Click 'Next' to start the installation:
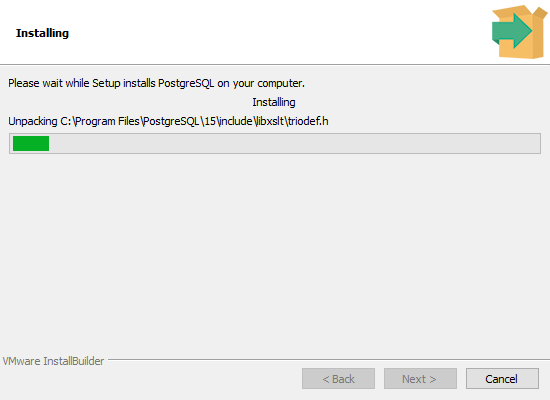
Installing
This can take a while, please wait.
Complete!
Now you have installed PostgreSQL on your computer, and in the next chapter you will start using it!
WARNING! The displayed instruction may differ from the one currently available on the official website! Use the latest information on downloading and installing PostgreSQL from the official site www.postgresql.org.
