
Deploy Django - Update Project
Deploy Changes
Any changes you do with the application locally, on your own computer, is not visible on the deployed version.
So if you make a change, and you want it to be visible on the deployed version, you have to upload a new .zip file.
Create .zip file
To wrap your project into a .zip file, follow the steps described in the Create .zip File chapter:
Start by selecting the relevant files and folders of your project, if you have the same project as we have in our tutorial, you should select the highlighted files in the example below:
my_tennis_club
.ebextensions/
members/
my_tennis_club/
mystaticfiles/
productionfiles/
db.sqlite3
manage.py
requirements.txt
Right-click and choose to create a .zip file.
Now you have a .zip file, containing the changes, and you can upload it to Elastic beanstalk:
my_tennis_club
.ebextensions/
members/
my_tennis_club/
mystaticfiles/
productionfiles/
db.sqlite3
manage.py
my_tennis_clup.zip
requirements.txt
Upload to Elastic Beanstalk
Log into your Amazon Web Services account, and find your project under the "Elastic Beanstalk" application:
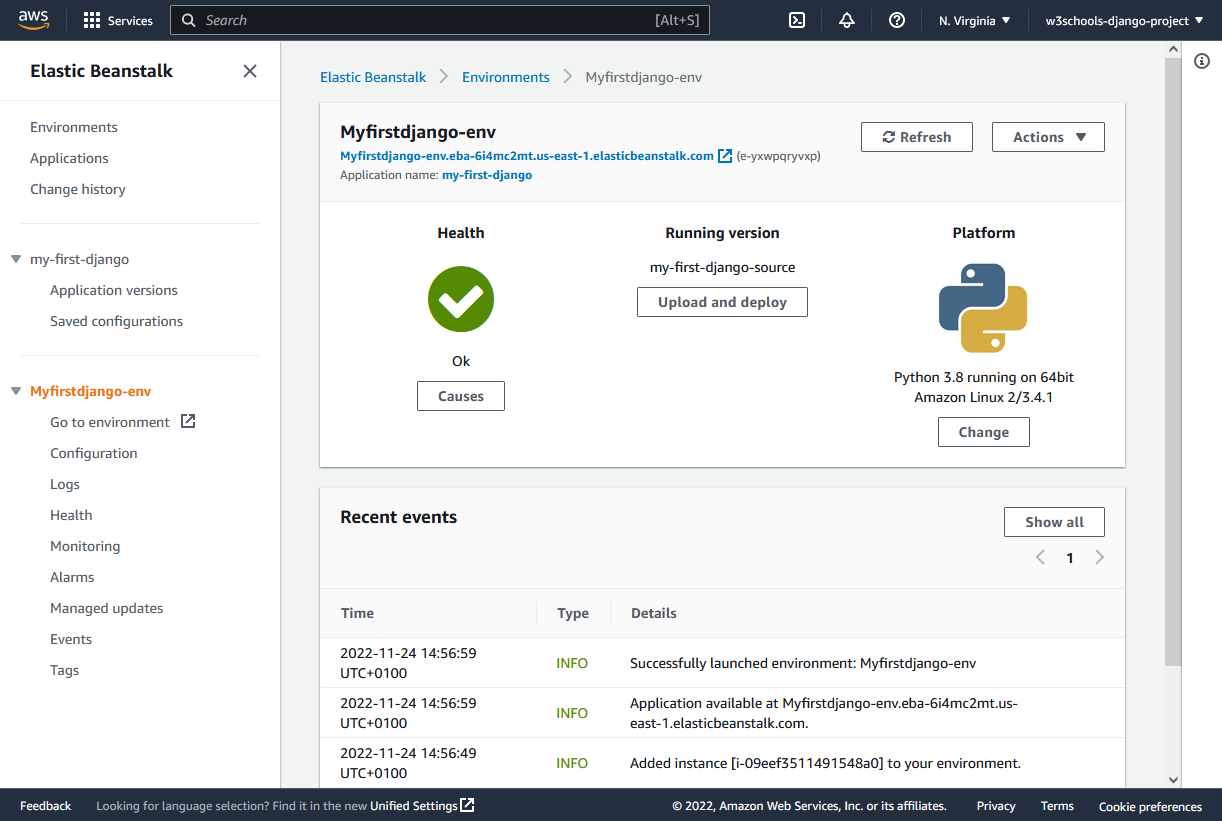
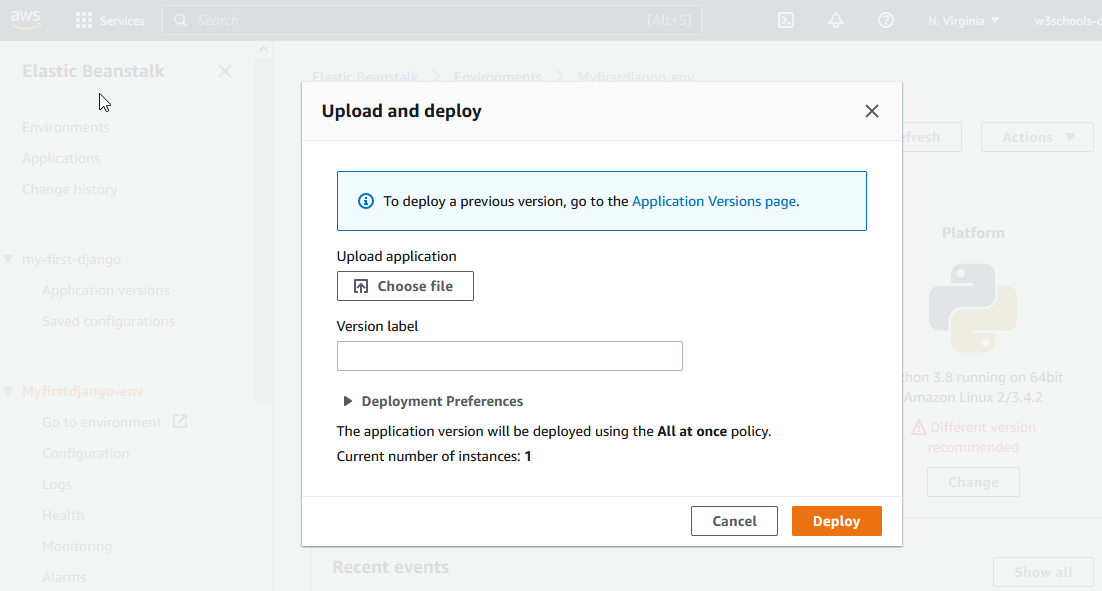
Click the "Upload and deploy" button.
Choose .zip File
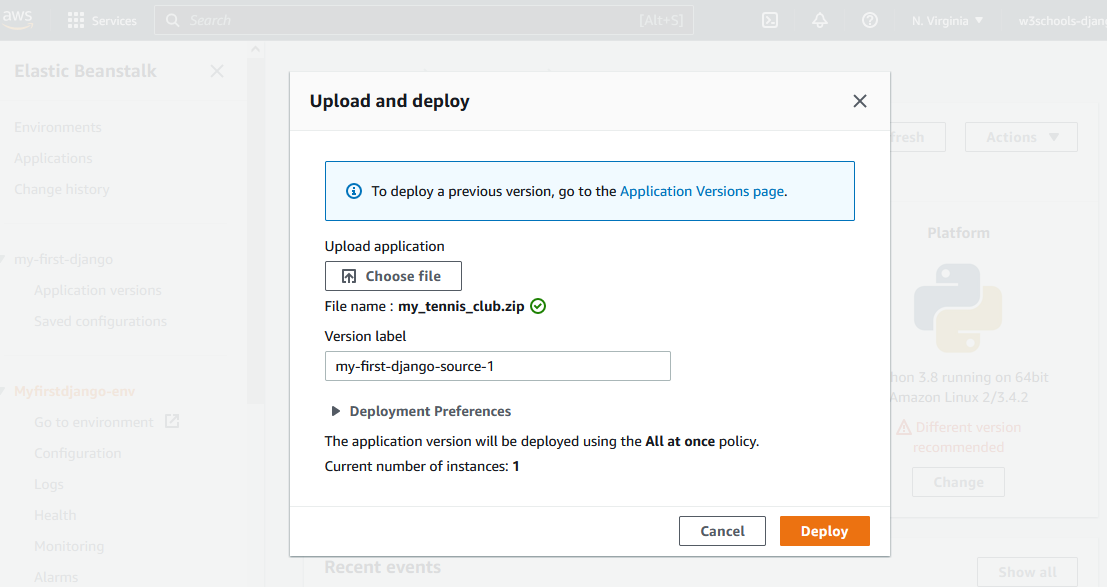
Click the "Choose file" button to upload the .zip file you just created:
Deploy
Click the "Deploy" button:
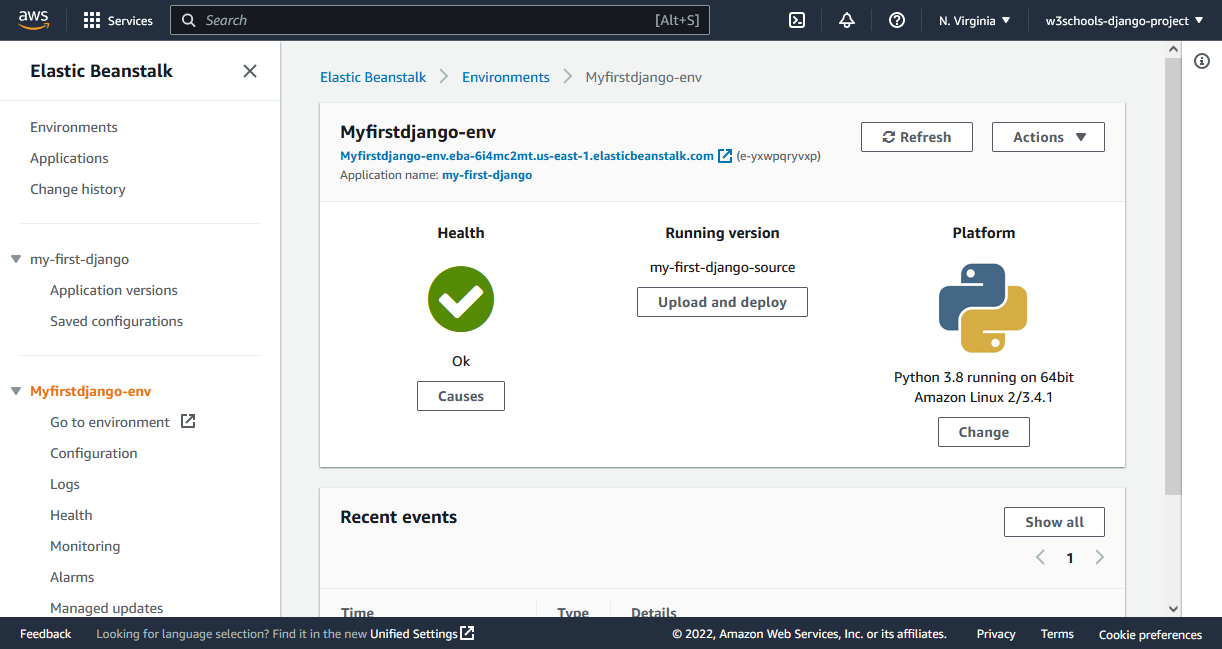
Uploaded!
That's it, your project is updated with all the new changes.
Note: Follow these steps every time you want to update your project.