
Add CSS File to the Project
The Project - My Tennis Club
If you have followed the steps in the entire Django tutorial, you will have a my_tennis_club project on your computer, with 5 members:
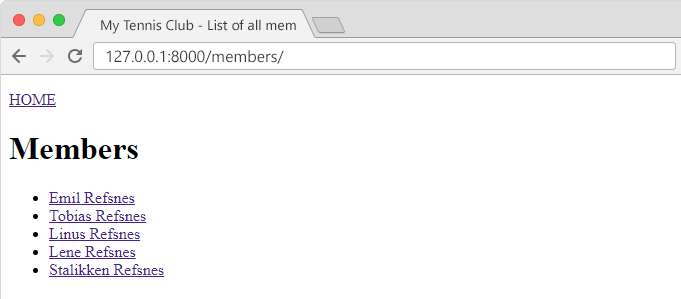
We want to add a stylesheet to this project, and put it in the mystaticfiles folder:
my_tennis_club
manage.py
my_tennis_club/
members/
mystaticfiles/
mystyles.css
The name of the CSS file is your choice, we call it mystyles.css in this project.
Open the CSS file and insert the following:
my_tennis_club/mystaticfiles/mystyles.css:
body {
  background-color: violet;
}
Modify the Master Template
Now you have a css file, the next step will be to include this file in the master template:
Open the master template file and add the following:
my_tennis_club/members/templates/master.html:
{% load static %}
<!DOCTYPE html>
<html>
<head>
  <title>{% block title %}{% endblock %}</title>
  <link rel="stylesheet" href="{% static 'mystyles.css' %}">
</head>
<body>

{% block content %}
{% endblock %}

</body>
</html>
Check Settings
Make sure your settings.py file contains a STATICFILES_DIRS list with a reference to the mystaticfiles folder on the root directory, and that you have specified a STATICFILES_ROOT folder:
my_tennis_club/my_tennis_club/settings.py:
.
.
STATIC_ROOT = BASE_DIR / 'productionfiles'

STATIC_URL = 'static/'

#Add this in your settings.py file:
STATICFILES_DIRS = [
    BASE_DIR / 'mystaticfiles'
]
.
.
Collect Static Files
Every time you make a change in a static file, you must run the collectstatic command to make the changes take effect:
py manage.py collectstatic
If you have executed the command earlier in the project, Django will prompt you with a question:
You have requested to collect static files at the destination
location as specified in your settings:
C:\Users\Your Name\myworld\my_tennis_club\productionfiles
This will overwrite existing files!
Are you sure you want to do this?
Type 'yes' to continue, or 'no' to cancel:
Type 'yes'. This will update any changes done in the static files, and give you this result:
1 static file copied to 'C:\Users\Your Name\minverden\my_tennis_club\productionfiles', 132 unmodified.
Now, if you run the project:
py manage.py runserver
It will look like this:
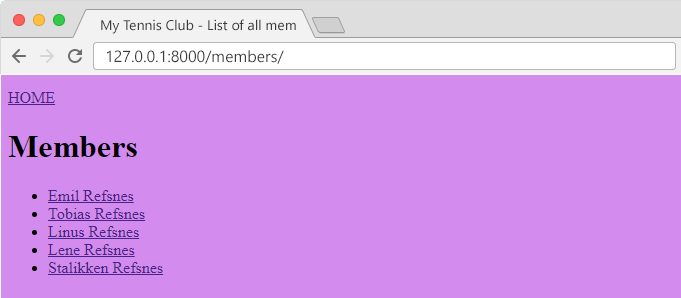
If you have followed all the steps on your own computer, you can see the result in your own browser:
In the browser window, type 127.0.0.1:8000/members/ in the address bar.
Spice up the Style!
In the example above, we showed you how to include a stylesheet to your project.
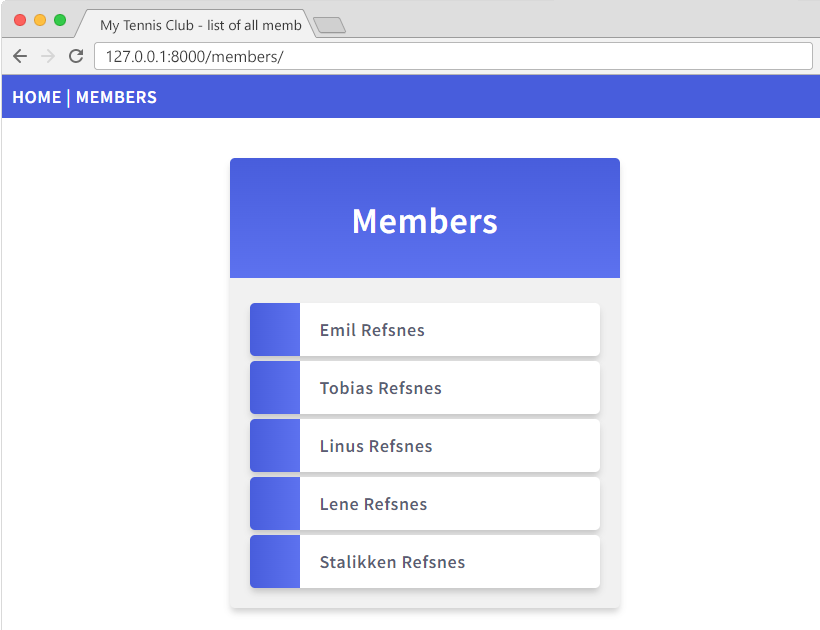
We ended up with a purple web page, but CSS can do more than just change the background color.
We want to do more with the styles, and end up with a result like this:
First, replace the content of the mystyles.css file with this:
my_tennis_club/mystaticfiles/mystyles.css:
@import url('https://fonts.googleapis.com/css2?family=Source+Sans+Pro:wght@400;600&display=swap');
body {
  margin:0;
  font: 600 18px 'Source Sans Pro', sans-serif;
  letter-spacing: 0.64px;
  color: #585d74;
}
.topnav {
  background-color:#375BDC;
  color:#ffffff;
  padding:10px;
}
.topnav a:link, .topnav a:visited {
  text-decoration: none;
  color: #ffffff;
}
.topnav a:hover, .topnav a:active {
  text-decoration: underline;
}
.mycard {
  background-color: #f1f1f1;
  background-image: linear-gradient(to bottom, #375BDC, #4D70EF);
  background-size: 100% 120px;
  background-repeat: no-repeat;
  margin: 40px auto;
  width: 350px;
  border-radius: 5px;
  box-shadow: 0 5px 7px -1px rgba(51, 51, 51, 0.23);
  padding: 20px;
}
.mycard h1 {
  text-align: center;
  color:#ffffff;
  margin:20px 0 60px 0;
}
ul {
  list-style-type: none;
  padding: 0;
  margin: 0;
}
li {
  background-color: #ffffff;
  background-image: linear-gradient(to right, #375BDC, #4D70EF);
  background-size: 50px 60px;
  background-repeat: no-repeat;
  cursor: pointer;
  transition: transform .25s;
  border-radius: 5px;
  box-shadow: 0 5px 7px -1px rgba(51, 51, 51, 0.23);
  padding: 15px;
  padding-left: 70px;
  margin-top: 5px;
}
li:hover {
  transform: scale(1.1);
}
a:link, a:visited {
  color: #375BDC;
}
.main, .main h1 {
  text-align:center;
  color:#375BDC;
}
Modify Templates
You also have to make some changes to the templates:
Master
We want all pages to have the same top navigation, therefor we insert the top navigation into master.html:
my_tennis_club/members/templates/master.html:
{% load static %}
<!DOCTYPE html>
<html>
<head>
  <link rel="stylesheet" href="{% static 'mystyles.css' %}">
  <title>{% block title %}{% endblock %}</title>
</head>
<body>

<div class="topnav">
  <a href="/">HOME</a> |
  <a href="/members">MEMBERS</a>
</div>

{% block content %}
{% endblock %}

</body>
</html>
Members
In all_members.html we want to make som changes in the HTML code.
The members are put in a div element, and the links become list items with onclick attributes.
We also want to remove the navigation, because that is now a part of the master template.
my_tennis_club/members/templates/all_members.html:
{% extends "master.html" %}

{% block title %}
  My Tennis Club - List of all members
{% endblock %}

{% block content %}
  <div class="mycard">
    <h1>Members</h1>
    <ul>
      {% for x in mymembers %}
        <li onclick="window.location = 'details/{{ x.id }}'">{{ x.firstname }} {{ x.lastname }}</li>
      {% endfor %}
    </ul>
  </div>
{% endblock %}
Details
In details.html we will put the member details in a div element, and remove the link back to members, because that is now a part of the navigation in the master template.
my_tennis_club/members/templates/details.html:
{% extends "master.html" %}

{% block title %}
  Details about {{ mymember.firstname }} {{ mymember.lastname }}
{% endblock %}

{% block content %}
  <div class="mycard">
    <h1>{{ mymember.firstname }} {{ mymember.lastname }}</h1>
    <p>Phone {{ mymember.phone }}</p>
    <p>Member since: {{ mymember.joined_date }}</p>
  </div>
{% endblock %}
Main
In the main.html template, we will put some of the HTML code into a div element:
my_tennis_club/members/templates/main.html:
{% extends "master.html" %}

{% block title %}
  My Tennis Club
{% endblock %}

{% block content %}
  <div class="main">
    <h1>My Tennis Club</h1>

    <h3>Members</h3>

    <p>Check out all our <a href="members/">members</a></p>
  </div>
{% endblock %}
Collect Static Files
Since we did some changes in the static mystyles.css file, we have to run the collectstatic command to make the changes take effect:
py manage.py collectstatic
Now, if you run the project:
py manage.py runserver
You can see what the result should look like:
Or, if you have followed all the steps on your own computer, you can see the result in your own browser:
In the browser window, type 127.0.0.1:8000/members/ in the address bar.